


 粤ICP备14082021号
微信扫码
添加专属顾问
 免费POC,
零成本试错
免费POC,
零成本试错
我要投稿
微信搜一搜,关注“郭震AI”
探索高效处理扫描版PDF的革命性解决方案,郭震带你体验智能体源码的神奇魅力! 核心内容: 1. 扫描版PDF到Word文档的高效转换方案 2. 基于Qwen2.5-VL-7B模型的多模态理解与自动处理 3. 利用远程GPU算力,实现快速批量处理
nvidia-smi --list-gpus
安装torch,transformers等,直接复制下面两行命令执行:pip install torch torchvision --index-url https://download.pytorch.org/whl/cu121pip install transformers safetensors
如果要处理视频或多模态任务,再安装opencv-python:
pip install opencv-python
pip install accelerate
from transformers import Qwen2_5_VLForConditionalGeneration, AutoTokenizer, AutoProcessorfrom qwen_vl_utils import process_vision_info# default: Load the model on the available device(s)model = Qwen2_5_VLForConditionalGeneration.from_pretrained( "Qwen/Qwen2.5-VL-7B-Instruct", torch_dtype="auto", device_map="auto")# We recommend enabling flash_attention_2 for better acceleration and memory saving, especially in multi-image and video scenarios.# model = Qwen2_5_VLForConditionalGeneration.from_pretrained(# "Qwen/Qwen2.5-VL-7B-Instruct",# torch_dtype=torch.bfloat16,# attn_implementation="flash_attention_2",# device_map="auto",# )# default processerprocessor = AutoProcessor.from_pretrained("Qwen/Qwen2.5-VL-7B-Instruct")# The default range for the number of visual tokens per image in the model is 4-16384.# You can set min_pixels and max_pixels according to your needs, such as a token range of 256-1280, to balance performance and cost.# min_pixels = 256*28*28# max_pixels = 1280*28*28# processor = AutoProcessor.from_pretrained("Qwen/Qwen2.5-VL-7B-Instruct", min_pixels=min_pixels, max_pixels=max_pixels)messages = [ { "role": "user", "content": [ { "type": "image", "image": "https://qianwen-res.oss-cn-beijing.aliyuncs.com/Qwen-VL/assets/demo.jpeg", }, {"type": "text", "text": "请用中文描述这张图片的内容。"}, ], }]# Preparation for inferencetext = processor.apply_chat_template( messages, tokenize=False, add_generation_prompt=True)image_inputs, video_inputs = process_vision_info(messages)inputs = processor( text=[text], images=image_inputs, videos=video_inputs, padding=True, return_tensors="pt",)inputs = inputs.to("cuda")# Inference: Generation of the outputgenerated_ids = model.generate(**inputs, max_new_tokens=128)generated_ids_trimmed = [ out_ids[len(in_ids) :] for in_ids, out_ids in zip(inputs.input_ids, generated_ids)]output_text = processor.batch_decode( generated_ids_trimmed, skip_special_tokens=True, clean_up_tokenization_spaces=False)print(output_text)因为本地还没有下载过"Qwen2.5-VL-7B" 模型,所以 transformers 框架自动去 Huggingface 下载模型的全部权重文件。model.safetensors.index.json 是模型的索引文件。model-00001-of-00005.safetensors 等这几个是模型的权重分片(大模型通常被切成多个小块,分片下载)。
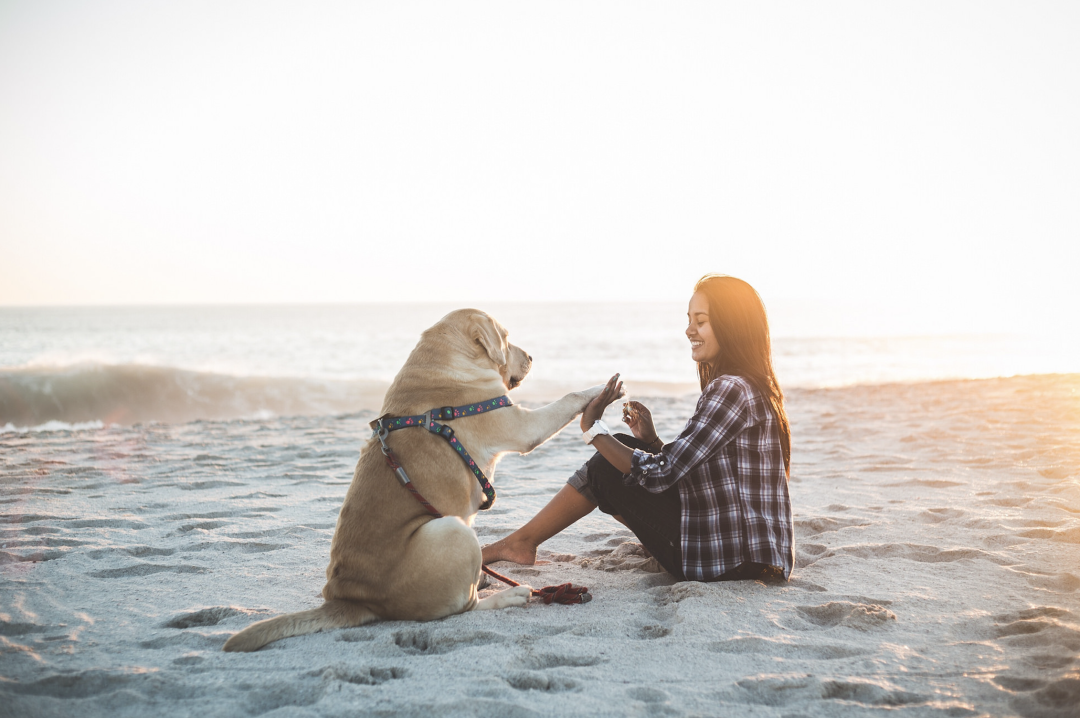
咱们默认输入如下这个图片,让它理解下这个图的信息:
![]()
![]()
返回英文了:咱们修改下代码这里,提示词告诉它使用中文描述:下面是中文返回结果,如下图所示:以上描述结果,大家觉得如何,有没有觉得很精准呀。4 扫描版PDF开始转Word上传一个300多页的pdf文件到服务器,使用scp命令:scp -P 41277 ocr_test.pdf root@你的服务器名字(来源文章一开始复制的登录地址)
提示输入密码后,输入文章一开始登录地方的密码,如下图所示: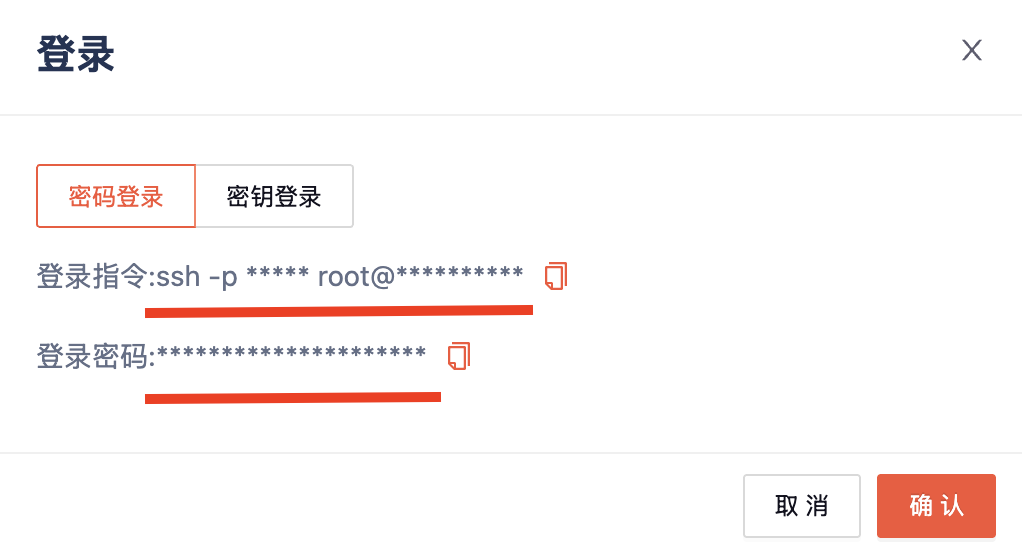
![]()
![]()
再安装PDF转Image的包:pip install pdf2image python-docx
sudo apt updatesudo apt install poppler-utils
53AI,企业落地大模型首选服务商
产品:场景落地咨询+大模型应用平台+行业解决方案
承诺:免费POC验证,效果达标后再合作。零风险落地应用大模型,已交付160+中大型企业
2026-06-22
小参数,大能力 | 星际视觉语言大模型再进化,0.8B轻量版正式发布
2026-06-16
RapidOCR: 从 setup.py 迁移到 pyproject.toml 打包实践
2026-06-12
PaddleOCR 3.7 正式接入ONNX Runtime,一个参数换后端,轻量部署新选择
2026-06-11
本地部署OCR,可能是AI进单位的第一道门
2026-06-08
正式推出 Gemma 4 12B: 一款统一、免编码器的多模态模型
2026-05-30
还在用 MinerU 解析 PDF?这个 2B 小模型直接把 olmOCR-bench 刷到 87.6%,速度还快 3.68 倍
2026-05-30
Qwen-VLA:迈向通用具身智能的统一动作框架
2026-05-25
罗福莉说的“伪多Agent”,我试了OmniWork后发现,真全干专家长这样

2026-04-22
2026-04-01
2026-04-02
2026-03-29
2026-04-21
2026-04-27
2026-04-09
2026-03-31
2026-04-15
2026-04-02
2026-03-12
2025-12-31
2025-08-04
2025-05-26
2025-05-13
2025-04-08
2025-04-05
2025-03-30
回到顶部